Staging site is essential for any business to ensure you test your code/changes before going live to production. WordPress is not just for simple blogging but you can create a lot more complex application, and there are thousands are popular sites already doing so. If your business relies on WordPress and doesn’t have a staging site yet, then please consider getting one. Alex explains here why you should have a staging site. The good news, it is not complex to set up. Most of the premium hosting provider offers a single click implementation. Let’s take a look at how to set up a staging site on Kinsta.
Log in to My Kinsta and go to Sites Select the site for which you want to set up a staging site On right top, click on change environment and select staging
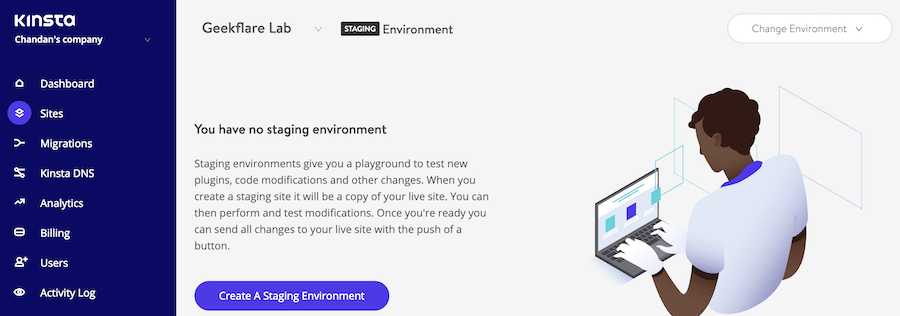
On next screen, you will notice it says you have no staging environment. There, click create a staging environment
You’ll get a confirmation that site is getting created.
And in just a minute, if you refresh the page – you will see the staging details. The URL is shown on the domains tab. Go ahead and confidently make changes to a staging site and once you are satisfied with the results and ready to push to the production, click push staging to live button.
Pushing to live means all the changes made on staging will be visible on live site. You see, it takes less than 5 minutes to get the staging site created for WordPress. Explore more Kinsta features here.